How to film a high-quality YouTube video without a production team in 12 steps

Content Marketing
Updated: October 11, 2024
How to film a high-quality YouTube video without a production team in 12 steps
18 min read
In this Article

Want to know how to film a YouTube video that turns people from casual viewers to engaged subscribers?

It’s easier than you think and you can even make high-quality YouTube videos with a small budget.

Today, we’re showing you the best way to film YouTube videos that engage and excite your audience—no production team needed.

The key components of every top-notch YouTube video

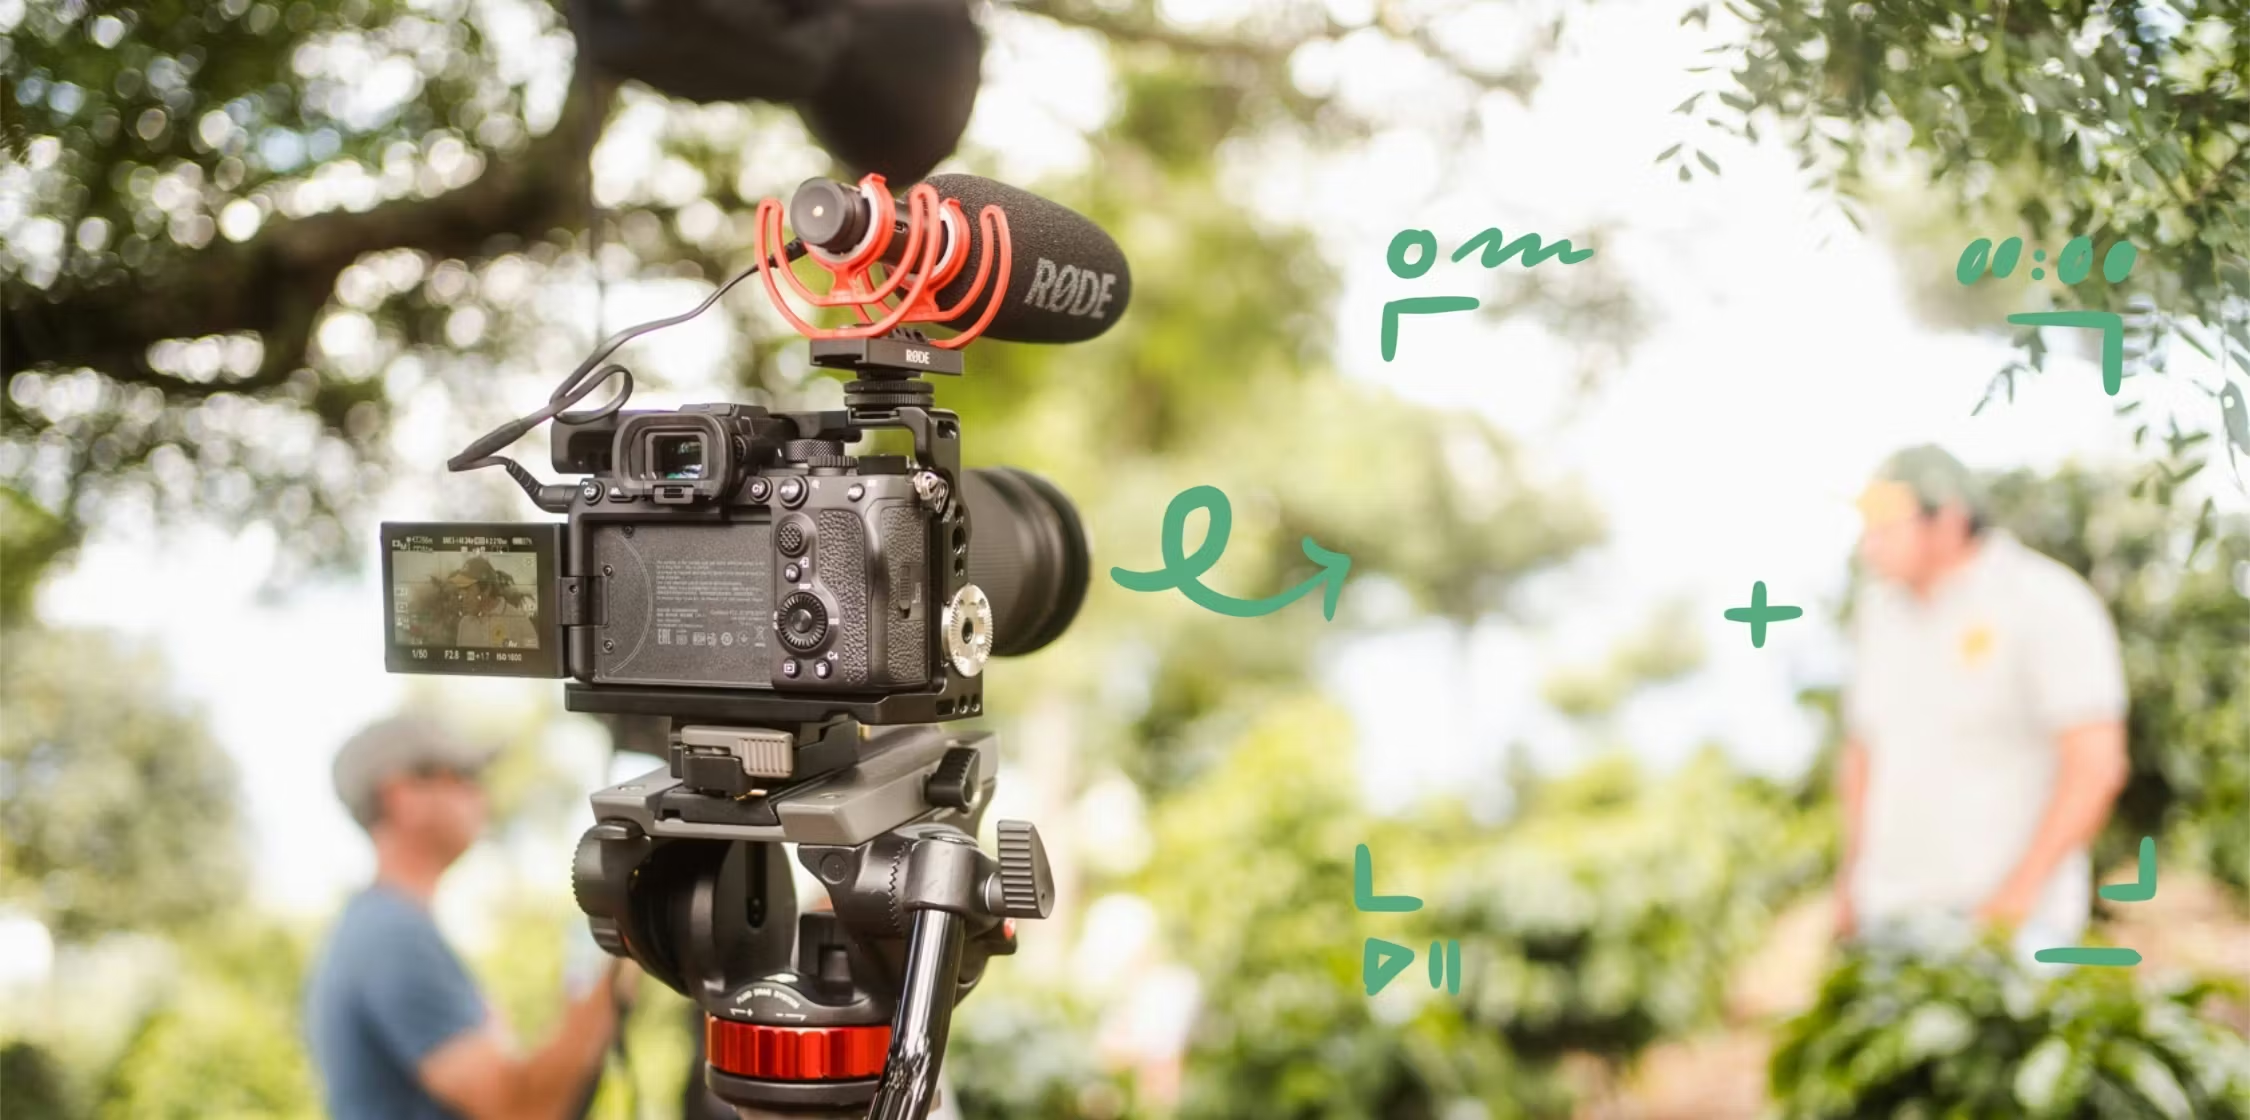
Key components of every top-notch YouTube video: a well-lit & well-composed shot, clear audio, and an engaging presenter.

A good video strikes a balance between three things:

  1. A well-lit, well-composed shot
  2. Clear audio
  3. An engaging presenter

For example, a video with terrible sound will be too hard to understand. And people aren’t likely to stick around and watch poorly-lit videos.

So, if you want to know how to shoot YouTube videos, your first step is to nail all three elements.

Here’s how:

1. A well-lit and well-composed shot

Let’s start with the first thing people will notice about your video: The way it looks.

Getting good video footage is actually less about using a fancy camera and more about lighting and framing. Which is great news for creators on a budget.

Lighting equipment and tips

Good lighting is your first step to making high-quality YouTube videos. And you can achieve a well-lit video with two methods: natural light and/or artificial lighting.

Natural light is best when it’s indirect (you don’t want to set up in front of a window where the sun is streaming through).

Because while golden hour may look artsy for Instagram photos, it won’t do your YouTube videos any favors. Intense light causes harsh shadows, which can distract viewers.

So, instead, pick a window where the sun isn’t directly beaming in. This will result in softer, more diffused light.

Studio lights are another option. Especially for those who might not have a suitable window or don’t want to arrange their filming schedules around the sun.

Here are some at-home studio lights to consider:

Framing tips (+ equipment)

The standard framing for talking-head videos is to center yourself in the middle of the screen. Like this video from designer Charli Prangley:

But you can also experiment with other framing techniques. A popular one is the rule of thirds.

The rule of thirds takes a frame (or a photo) and divides it into nine sections. Like this:

With the rule of thirds, you’ll place yourself (or your subject) at any point where these lines intersect.

Here’s how Charli uses the rule of thirds in one of her vlogs. Notice how the lines intersect on her computer screen? This draws attention to where she wants viewers to look.

Or consider a wide-angle lens to add more dynamics to your background. This may be suitable if you’re a travel blogger and want to pull viewers into your environment. Here’s an example of Think Media showing what a wide-angle lens looks like:

Compare this to a normal lens, which can create a more intimate feel and closes up the background.

This type of lens may work to film talking head videos where you want the viewer to feel closer to you.

Lastly, pay attention to the background in each video you film. Your background should be tidy and aesthetic (so check that you’ve put the laundry away…).

And replace a plain white background (it’s boring) with something interesting. Like an art-wall gallery. You can always use a camera lens with a short depth of field to slightly blur busy backgrounds so they don’t distract from you. Like what Charli does:

As for where to record your YouTube videos, pick somewhere you spend a lot of time. For a travel vlogger, that’s likely in the cities and towns they explore. And a freelancer may choose to record videos in their office.

Filming videos places you spend your time makes it easier to integrate filming into your schedule.

Camera

YouTubers use a range of equipment to film their videos. Some may use a phone (like Jenelle Eliana, who exclusively used her iPhone X to film videos for her 1.6 million subs). You can film YouTube videos on your phone if you don’t want to add more gadgets to your tech stack.

Other creators opt for professional camera lenses to have greater control and flexibility. These are popular options:

Whether you choose to film with your phone or a professional lens depends on your budget and how much creative freedom you want.

Pro Tip: YouTube recommends frame rates of 24, 25, 30, 48, 50, and 60 per second. You can typically adjust a camera’s frame rate. However, research which frame rates a camera has before buying one to ensure it will work to shoot YouTube videos.

Tripod

Tripods stabilize your camera and let you film from a variety of different angles (think filming from above if you need to show your hands for a craft tutorial).

Here are two options:

2. Clear audio

You want your viewer to pay attention to what you say and not get distracted by something like your air conditioner humming in the background.

And unless you’re an audio expert, unwanted sounds are hard to fix post-production. So, aim to eliminate any background noise during filming. That way, you don’t need to worry about them during editing.

Pro Tip: Consider filming in a room with lots of soft furnishings (think curtains, cushions, and rugs). Soft furnishings help reduce echoes and can improve your video’s audio.

Audio equipment and tips

There are two types of microphones to consider:

  1. USB microphones to record yourself through your computer. Audio-Technica and Blue Yeti are popular options.
  2. External microphones to record your voice directly from a video camera. Movo Mic and Comica Mic can work well for this.

Whichever mic you consider, try to place it close to you while filming. This placement can reduce echos and result in crystal-clear output.

3. An engaging presenter

With 14 billion videos posted to YouTube, there’s no shortage of content for people to consume. You want to engage viewers right away. Otherwise, they might hit the back button and watch someone else.

How to be captivating on camera

You need to be animated and let your personality shine through to engage your audience. Here are a few tips:

  • Prepare a general script: Create bullet points to guide your video. Being prepared helps you feel confident so you can focus on how you deliver your message instead of stressing over what to say.
  • Rehearse your video: Practicing smoothes out any clunky areas so you have less to edit post-production.
  • Think of the camera as a person: Remember that you’re not just talking to a camera—you’re talking to a real human who will be watching your videos on the other side of the screen.
  • Record in batches: Record multiple videos in one sitting—especially if you’re feeling great. You want that engaging energy for all your videos, so hit “record” on days you feel excited about being on camera. Even if that means shooting multiple videos in one sitting.

You’re bound to feel awkward filming videos at first (it’s a rite of passage for every YouTuber!), but with practice, you’ll blossom into your true self. The more you film, the faster you’ll get to that point.

12 steps to shooting a great YouTube video

Filming great YouTube videos takes time. So, make sure you set aside enough time to film and edit.

A good rule of thumb is to set aside one hour of editing for every minute of footage you have.

That means if your video is 10 minutes long, you can expect to spend 10 hours editing the video.

Some videos may take less time (like a talking head video that doesn’t need very many cuts). And others could take longer (like a daily vlog where you show lots of different scenes throughout the video).

Knowing that, let’s uncover each step it takes to film a YouTube video.

Step #1: Set up your equipment

Check your camera/phone battery is full and that it’s secure on a tripod (or a stack of books if you don’t have a tripod).

If you’re using a microphone, ensure it’s plugged in, switched on, and placed in front of you.

Step #2: Test everything is working

Test your setup each time you film. Just because a particular setup was successful for prior filming sessions doesn’t mean it will work this time around.

Always film a test clip—just a few seconds will do—and review/fix any errors with the visuals or audio before filming the rest of your video.

Step #3: Review your notes

Skim through what you’ve prepared to speak about.

You don’t need to write a script or learn lines, but your filming process will go much smoother if you have a rough outline of what you want to say.

You can also use teleprompter apps (like VEED) to roll through a rough script while you film.

Step #4: Take a few deep breaths

Get yourself ready to be on camera and let your personality shine through as you talk.

Step #5: Hit record

Take a moment to make sure all the right red lights are on before starting. You’d hate to get 10 minutes into filming before realizing your camera captured none of it.

Step #6: Smile and start talking

It’s always nice when the first frame of your video starts with a smile. Plus, your cheerful energy can build a faster connection with viewers.

Step #7: Look straight into the lens

I know you’re beautiful, but try to look into your camera while filming rather than at yourself on the screen.

Viewers will notice that your eyes aren’t quite looking at them, which can feel distracting, and cause a disconnect between you and your audience.

Step #8: If you mess up a sentence, start over

Remember, videos can (and should) be edited, and you don’t have to stop recording or start the whole video again if you stumble over a word or say the wrong thing.

Take a breath, think about what you intended to say, then get right back into it. Your audience will never know any mistakes happened after cutting them out during edits.

Step #9: Do a few takes

If there’s a part in your video you’re not 100% sure about, try saying it a few different ways. You can pick the best version in the editing process.

For example, film two different intros and pick that one that feels the most engaging.

Step #10: Pose for a thumbnail

Take a few seconds to capture the image for your video thumbnail after filming.

Take self-timer photos or keep the camera rolling and pose. Then, export the frame you like later on.

Step #11: Check the video footage, again

Scrub through your recorded footage and make sure you’re happy with it. It’s better to find out now if there’s anything that you need to tweak rather than when you sit down to edit.

Step #12: Save the files

There’s nothing more frustrating than accidentally formatting a memory card and erasing footage from a video you haven’t edited yet. So, as soon as you’re done filming, save your footage to your computer or hard-drive to avoid memory card mishaps.

How to film a YouTube video in 12 steps: set up your equipment, test everything is working, review your notes, take a few deep breaths, hit record, smile & start talking, look straight into the lens, ...

Then, edit your saved footage. Here are a few tips:

  • Remove mistakes
  • Cut any content that isn’t your best and refilm any content you aren’t happy with
  • Tighten up your edits to keep viewers engaged
  • Add supporting graphics and text

These programs are popular among YouTubers to record and edit videos:

How to attract and connect with your YouTube audience

Deep connections are key to building an audience that eagerly awaits your videos.

Here’s how to foster that deep connection.

Figure out your authentic filming style

The more videos you make, the more you’ll begin to add your own personal steps to the recording process.

You might like batch-filming two to three videos in a session to make the most of your setup time.

Or maybe you’ll discover you’re at your best presenting when you practice in front of the mirror first.

Try things out and make refinements to our 12-step process above.

Here’s some words of wisdom from other YouTubers on how to film videos YouTube:

Sara Brunettini, UX Design YouTuber

The way I make videos is pretty simple: I write the script during the week (1 hour a day) and record/edit at the weekend. I’m still trying to figure out my style but I think that in each video I reveal my real personality a step at a time. My goal is to look at the camera as if I was looking at my best friend and be myself, the real me…and say goodbye to all the cringe!

Sara Brunettini, UX Design YouTuber

Kelly Jepsen, Gaming YouTuber

I’m trying not to get hung up on “perfection” and instead focusing on putting content out, learning what is getting views/engagement, learning what I actually enjoy making, and then tweaking and improving from there. Progress over perfection and all that!

–Kelly Jepsen, Gaming YouTuber

Raymond Stone, Design YouTuber

The greatest challenge for me was learning the balance between script and delivery. The more detailed the script, the harder it is to deliver it naturally. The less detailed the script, the harder it is to deliver the exact message you want to.

Raymond Stone, Design YouTuber

Optimize and promote your channel and videos

Your videos deserve views after all your work. Take time to promote every YouTube video you make. Consider:

  • Sharing videos on social media
  • Embedding videos to relevant blog posts
  • Adding videos to your email newsletter
  • Ask viewers to join your email list

Your email list is one of the few audiences you own. And you’ll want to funnel as many YouTube viewers as you can to your list.

That way, if something ever happens to your YouTube channel (knock on wood), you’ll still have communication with people who are interested in your brand.

Here’s how to turn people from YouTube subscribers to email subscribers:

1. Create a freebie related to your video topics

Freebies—or lead magnets—encourage viewers to join your email list.

YouTuber Nick True grew his email list to over 10,000 subscribers by creating relevant freebies and then pitching them at the end of each video and adding a link to them to the description of each YouTube video.

A snapshot of Nick’s month-over-month subscriber growth, tracked in Kit.

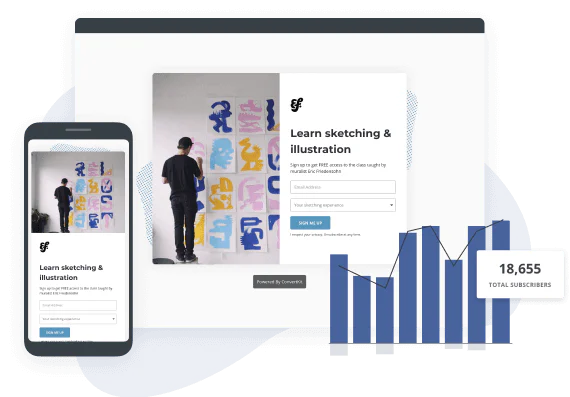
2. Design a landing page to collect email addresses

Next, you need a landing page to promote your lead magnet and collect email addresses. And you can quickly build a landing page using Kit.

3. Promote your lead magnet in YouTube

Just like YouTuber Nick True, you want to promote your lead magnets within your videos.

But you don’t need to wait until the end of your video to pitch your lead magnet.

Why?

Because not everyone will stick around for the full video, so try to mention your lead magnet at least twice in the video: Once near the beginning and once at the end.

You should also include a link to your freebie’s landing page in the description of your video, in an end screen (only available for those in the YouTube Partner Program), and in your YouTube channel bio. This way, users can easily find your link to subscribe.

4. Tag the YouTube subscribers that sign up

Assign email tags to people who sign up to your email list through YouTube. Knowing where subscribers come from can help you create highly personalized emails so they stay subscribed to your list.

5. Send them personalized email automations

Create personalized email automations—like a welcome sequence or a sequence that promotes paid offers—for your YouTube subscribers.

For example, say someone signed up for your list after watching a video of yours on knitting tips for beginners.

Since you know this person is likely a beginner (thanks to email tags), you can promote your beginner-friendly knitting patterns to them rather than patterns that they might find too challenging.

Subscribers will appreciate these customized emails that cater to their interests. And they’ll thank you by becoming paying customers and brand advocates.

Turn your YouTube subscribers into raving brand fans with Kit

Kit’s email marketing lets you do more than just email your subscribers.

Features like tags give you the ability to dig deep into your audience so you know which types of content they want to see.

And our automations make it an entirely hands-off process. You can continue making videos for your subscribers while your email marketing engages, delights, and converts subscribers in the background.

Ready to see for yourself?

Try Kit for free and grow your email list and YouTube subscribers at the same time.

Connect with your audience

Share what you love to connect with your followers and grow your business with a free Kit account.

Create a free Kit account
Dana Nicole
Dana Nicole

Dana is a freelance writer who works closely with B2B SaaS brands to create content people enjoy reading. When she’s not working, you’ll find her sipping on a warm cup of tea and reading a good book (the scarier, the better). See what she’s up to at www.dananicoledesigns.com (Read more by Dana)